Purchasing a pre-owned vehicle is one of the most significant financial decisions an individual can make. While the prospect of a new-to-you car is exciting, the used car market is fraught with potential pitfalls that can lead to expensive repairs or even safety hazards. A systematic approach to checking a car before buying is not just a recommendation; it is a necessity for anyone looking to protect their investment and ensure peace of mind on the road. This comprehensive guide outlines the essential stages of a thorough vehicle inspection, from initial research to the final test drive.
Stage 1: Preliminary Research and History Verification
Before you even set foot on a dealership lot or meet a private seller, your journey begins with data. The Vehicle Identification Number (VIN) is your most powerful tool. By obtaining the VIN, you can access a detailed vehicle history report through services like Carfax or AutoCheck. This report reveals critical information such as the number of previous owners, accident history, title status (salvage, rebuilt, or clean), and maintenance records. Look specifically for consistent service intervals, as a well-documented car is often a well-maintained one. Additionally, verify that the odometer readings in the report align with the current mileage to rule out odometer tampering.
Understanding Title Designations
A clean title is the gold standard. However, you may encounter 'Salvage' or 'Rebuilt' titles. A salvage title indicates the car was declared a total loss by an insurance company, while a rebuilt title means it was repaired and inspected for roadworthiness. While these cars are cheaper, they often carry hidden structural damage and are harder to insure and resell. Unless you are an expert, it is generally advisable to stick with clean-titled vehicles.
Stage 2: Exterior Inspection – The Body and Frame
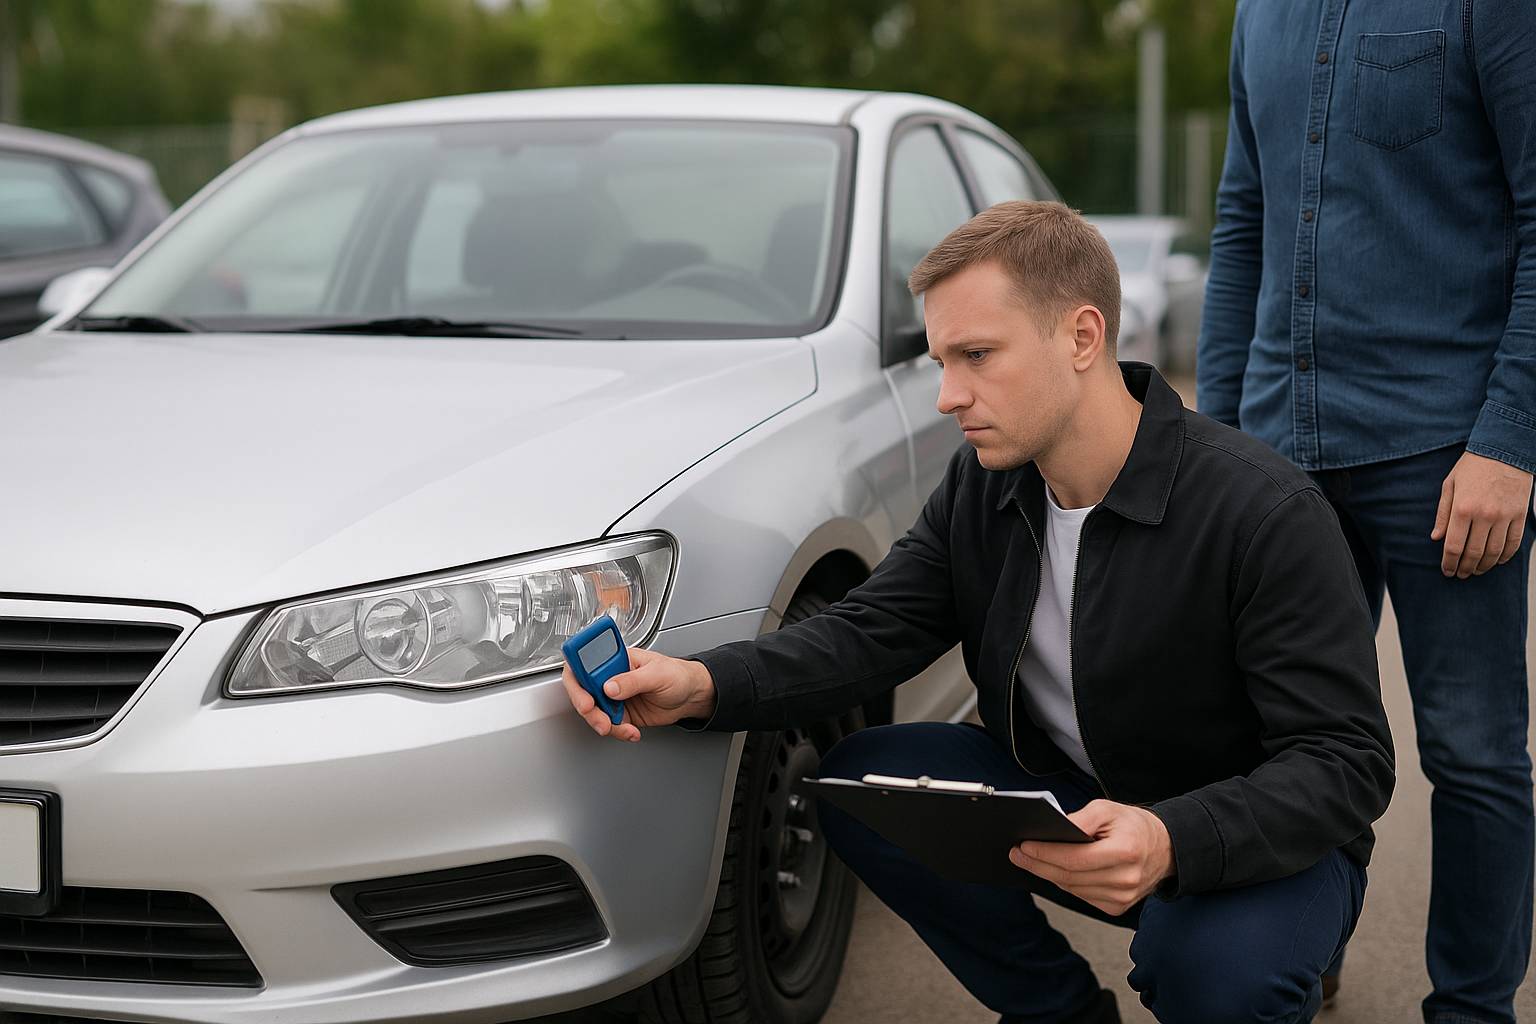
When you finally see the car in person, ensure it is parked on level ground and that you are inspecting it in broad daylight. Rain or low light can hide paint imperfections and dents. Start by walking around the vehicle and checking for panel alignment. Gaps between the doors, hood, and trunk should be uniform. Uneven gaps are a classic sign of past collision repairs where the body panels were not perfectly realigned.
Check the paint quality across the entire car. If one panel looks slightly different in shade or texture (the 'orange peel' effect), it has likely been repainted. Use a small magnet wrapped in a soft cloth to check for body filler (Bondo); the magnet will not stick to areas where thick filler has been used to hide dents or rust. Pay close attention to the wheel wells, rocker panels, and the bottom of the doors for signs of corrosion. Rust is a cancer for cars; while surface rust can be managed, structural rust on the frame is a deal-breaker.

Stage 3: Under the Hood – Mechanical Health
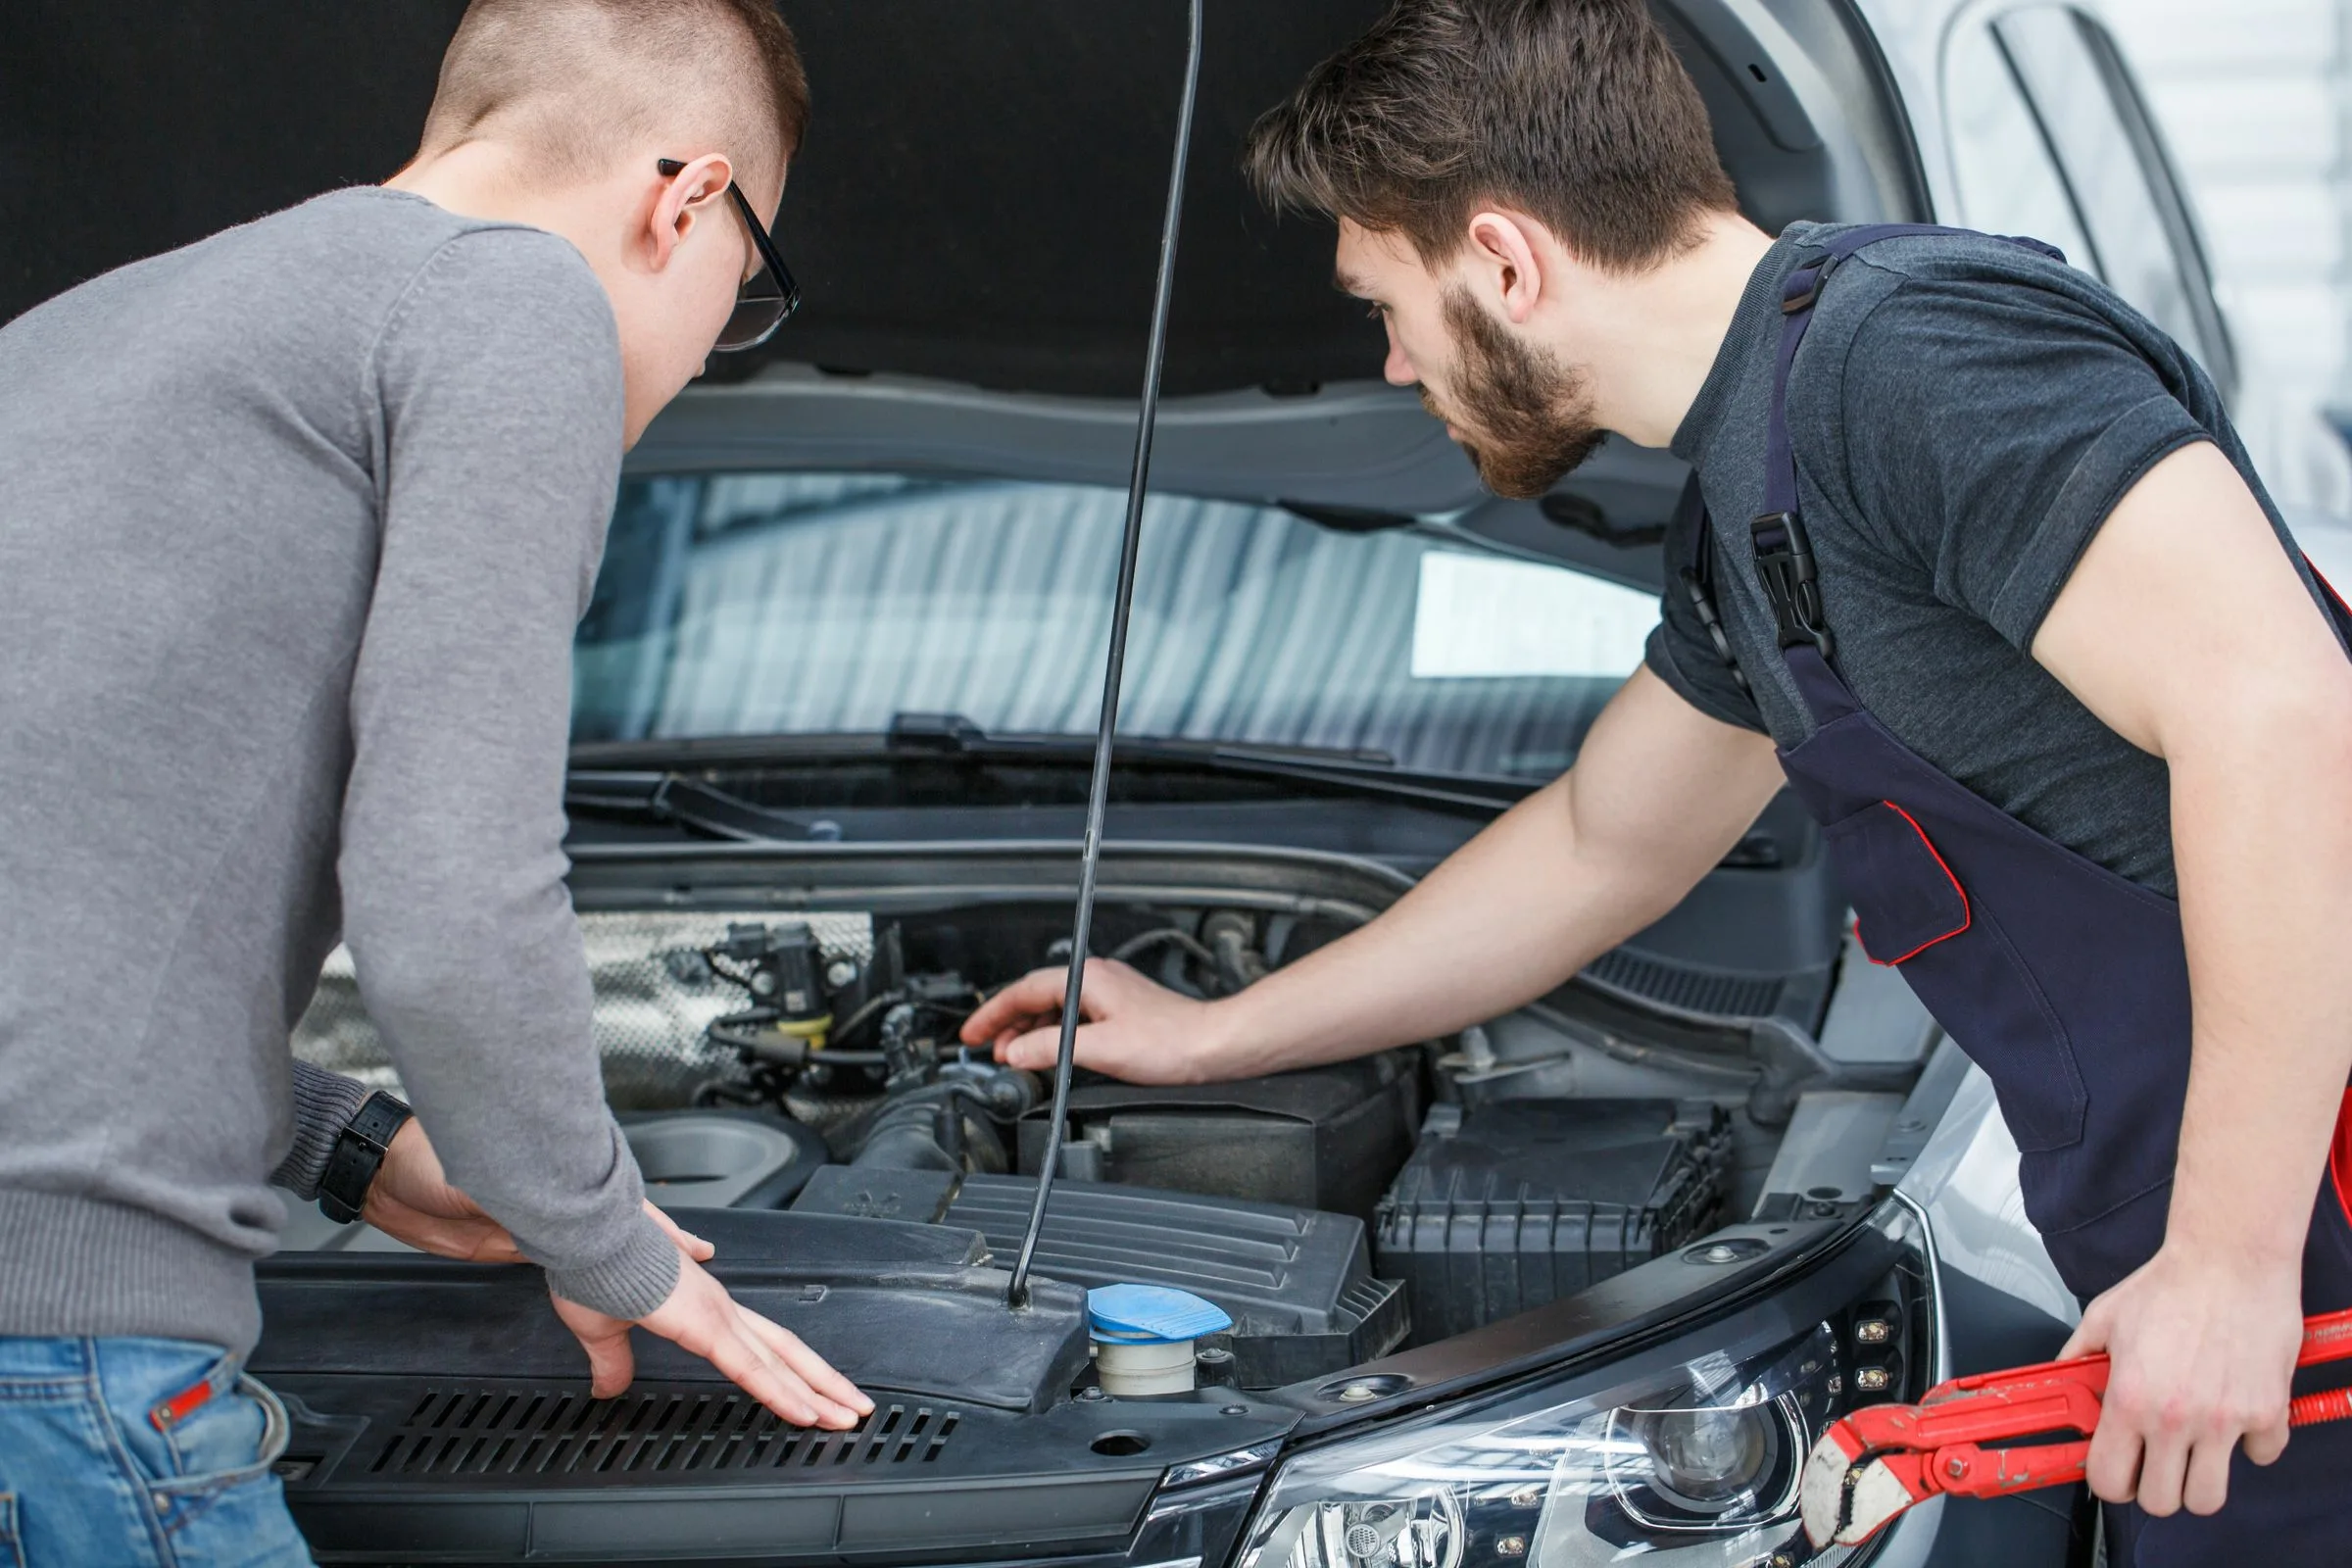
The engine is the heart of the vehicle, and its condition dictates the car's longevity. With the engine cool, open the hood and look for signs of neglect. Check the fluids first. The oil should be honey-colored or dark brown; if it looks like a milky latte, it indicates a blown head gasket, which is a catastrophic failure. Check the coolant; it should be bright green, orange, or pink, depending on the manufacturer. If it looks rusty or has oily bubbles, there are internal engine issues.
Inspect the belts and hoses for cracks, fraying, or soft spots. Look at the battery terminals for excessive corrosion. Most importantly, look for leaks. Fresh oil or coolant puddles on the engine block or the ground beneath the car are immediate red flags. While you are there, pull the transmission dipstick (if equipped) and smell the fluid; it should be red and smell slightly sweet. A burnt smell indicates a failing transmission.
Stage 4: Interior Condition and Electronics
The interior tells a story about how the previous owner treated the car. Excessive wear on the driver's seat bolster, steering wheel, and pedals that doesn't match the odometer reading suggests the mileage may have been rolled back. Check every single electronic feature. Test the air conditioning (it should blow ice-cold quickly), the heater, all power windows, the sunroof, and the infotainment system. Replacing a faulty head unit or a window motor can cost hundreds of dollars.
Don't forget the 'sniff test.' A musty or moldy smell often indicates water intrusion, possibly from a leaking sunroof or, worse, flood damage. Check under the floor mats for dampness. If the car smells strongly of air freshener, the seller might be trying to mask the scent of cigarette smoke or pet odors, which are notoriously difficult to remove permanently.
Stage 5: The Test Drive – Real-World Performance
The test drive is your opportunity to feel how the car operates under load. Start the car from a cold state; some engine noises, like piston slap or timing chain rattle, only appear during a cold start. Turn off the radio so you can hear the car. Drive on various road surfaces, including highways and local streets. The steering should be centered and not pull to one side. If the car vibrates at high speeds, the wheels might be out of balance, or there could be suspension issues.
Test the brakes firmly in a safe area. There should be no squealing, grinding, or pulsing through the pedal. The transmission should shift smoothly without hesitation or 'hunting' for gears. For manual transmissions, ensure the clutch doesn't slip and that all gears engage without grinding. Listen for clunks when going over bumps, which usually points to worn-out bushings, struts, or ball joints.
Stage 6: The Professional Pre-Purchase Inspection (PPI)
Even if you are car-savvy, nothing replaces the eye of a professional mechanic. A Pre-Purchase Inspection (PPI) typically costs between $100 and $250, but it can save you thousands. A mechanic can put the car on a lift to inspect the undercarriage for frame damage, hidden leaks, and exhaust system integrity. They can also use a diagnostic scanner to check for 'pending' trouble codes that haven't yet triggered a check engine light. If a seller refuses to let you take the car to a mechanic of your choice, walk away immediately.
Stage 7: Finalizing the Deal and Paperwork
If the car passes all tests and you've negotiated a fair price, the final step is the paperwork. Ensure the seller has a valid title in their name. Check for liens on the title; if a bank is listed, the loan must be paid off before the title can be transferred to you. Verify the VIN on the title matches the VIN on the car's dashboard and door jamb. Complete a Bill of Sale that includes the purchase price, date, and 'as-is' disclosure if applicable. Once the funds are exchanged and the title is signed over, immediately register the vehicle and update your insurance policy.
Checking a car before buying is a labor-intensive process, but it is the only way to ensure you are getting a reliable vehicle. By following these stages—researching history, inspecting the body and engine, testing the interior, conducting a thorough test drive, and getting a professional opinion—you transform from a vulnerable buyer into an informed consumer. At Ovra, we believe that every driver deserves a safe and dependable ride. Take your time, ask the hard questions, and never rush into a deal that doesn't feel right.